Making compost in one’s backyard is one of the most satisfying things a gardener can do. Witnessing the magical transformation of the kitchen and yard scraps into beautiful soil amendment is empowering. However, to take it up a notch, some of us like to refine our work and make it even more eye-pleasing by sifting the decomposed material to get an even more refined product. For this purpose, let me show you an easy way to make a compost sieve.
Materials to make a compost sieve
This project is straightforward and very affordable. Most of the needed materials could be lying around in your garage. If not, they are not expensive to get from the hardware store.
- Two by one-inch wooden boards
- Wire mesh ( we will talk about the size later)
- 1.5-inch screws
- Hardware Stapler and staples
#1 Decide the size of the compost sieve
The size of the sieve is entirely a personal preference. For example, I like for my sieve to fit my garden cart. I like it to sit stable on the top of the cart while I am shoveling compost over it and sifting it.
Also, since the amount of compost I produce in my backyard is not overwhelming, I do not need to have a massive compost sieve.
Therefore, in my case, my compost sieve is two feet by two feet.

#2 Choose the size of the wire mesh opening
Since the purpose of making this sieve is to sort the fine compost material from the bulky material, we need to decide how fine our mesh should be.
In my case, I chose half-inch wire mesh, which is enough to sort the twigs and fruit pits. However, you may go with 1/4 inch mesh for a more refined result, but it might take longer to sift the compost.
In conclusion, I find the half-inch mesh does a great job.
#3 Make the cuts
After deciding the size of the compost sieve, it is time to make the cuts.
For a two-by-two sieve:
- Cut the wooden boards into two feet long pieces. You may use a hand saw, an electric saw, or ask someone at the hardware store to cut it for you.
- Cut the wire mesh into a two-by-two square. It is essential to wear protective gloves when cutting the wire to prevent injury.
By the way, the sieve does have to be a square shape. It could also be a rectangle.
#4 Assemble the compost sieve
Make the frame

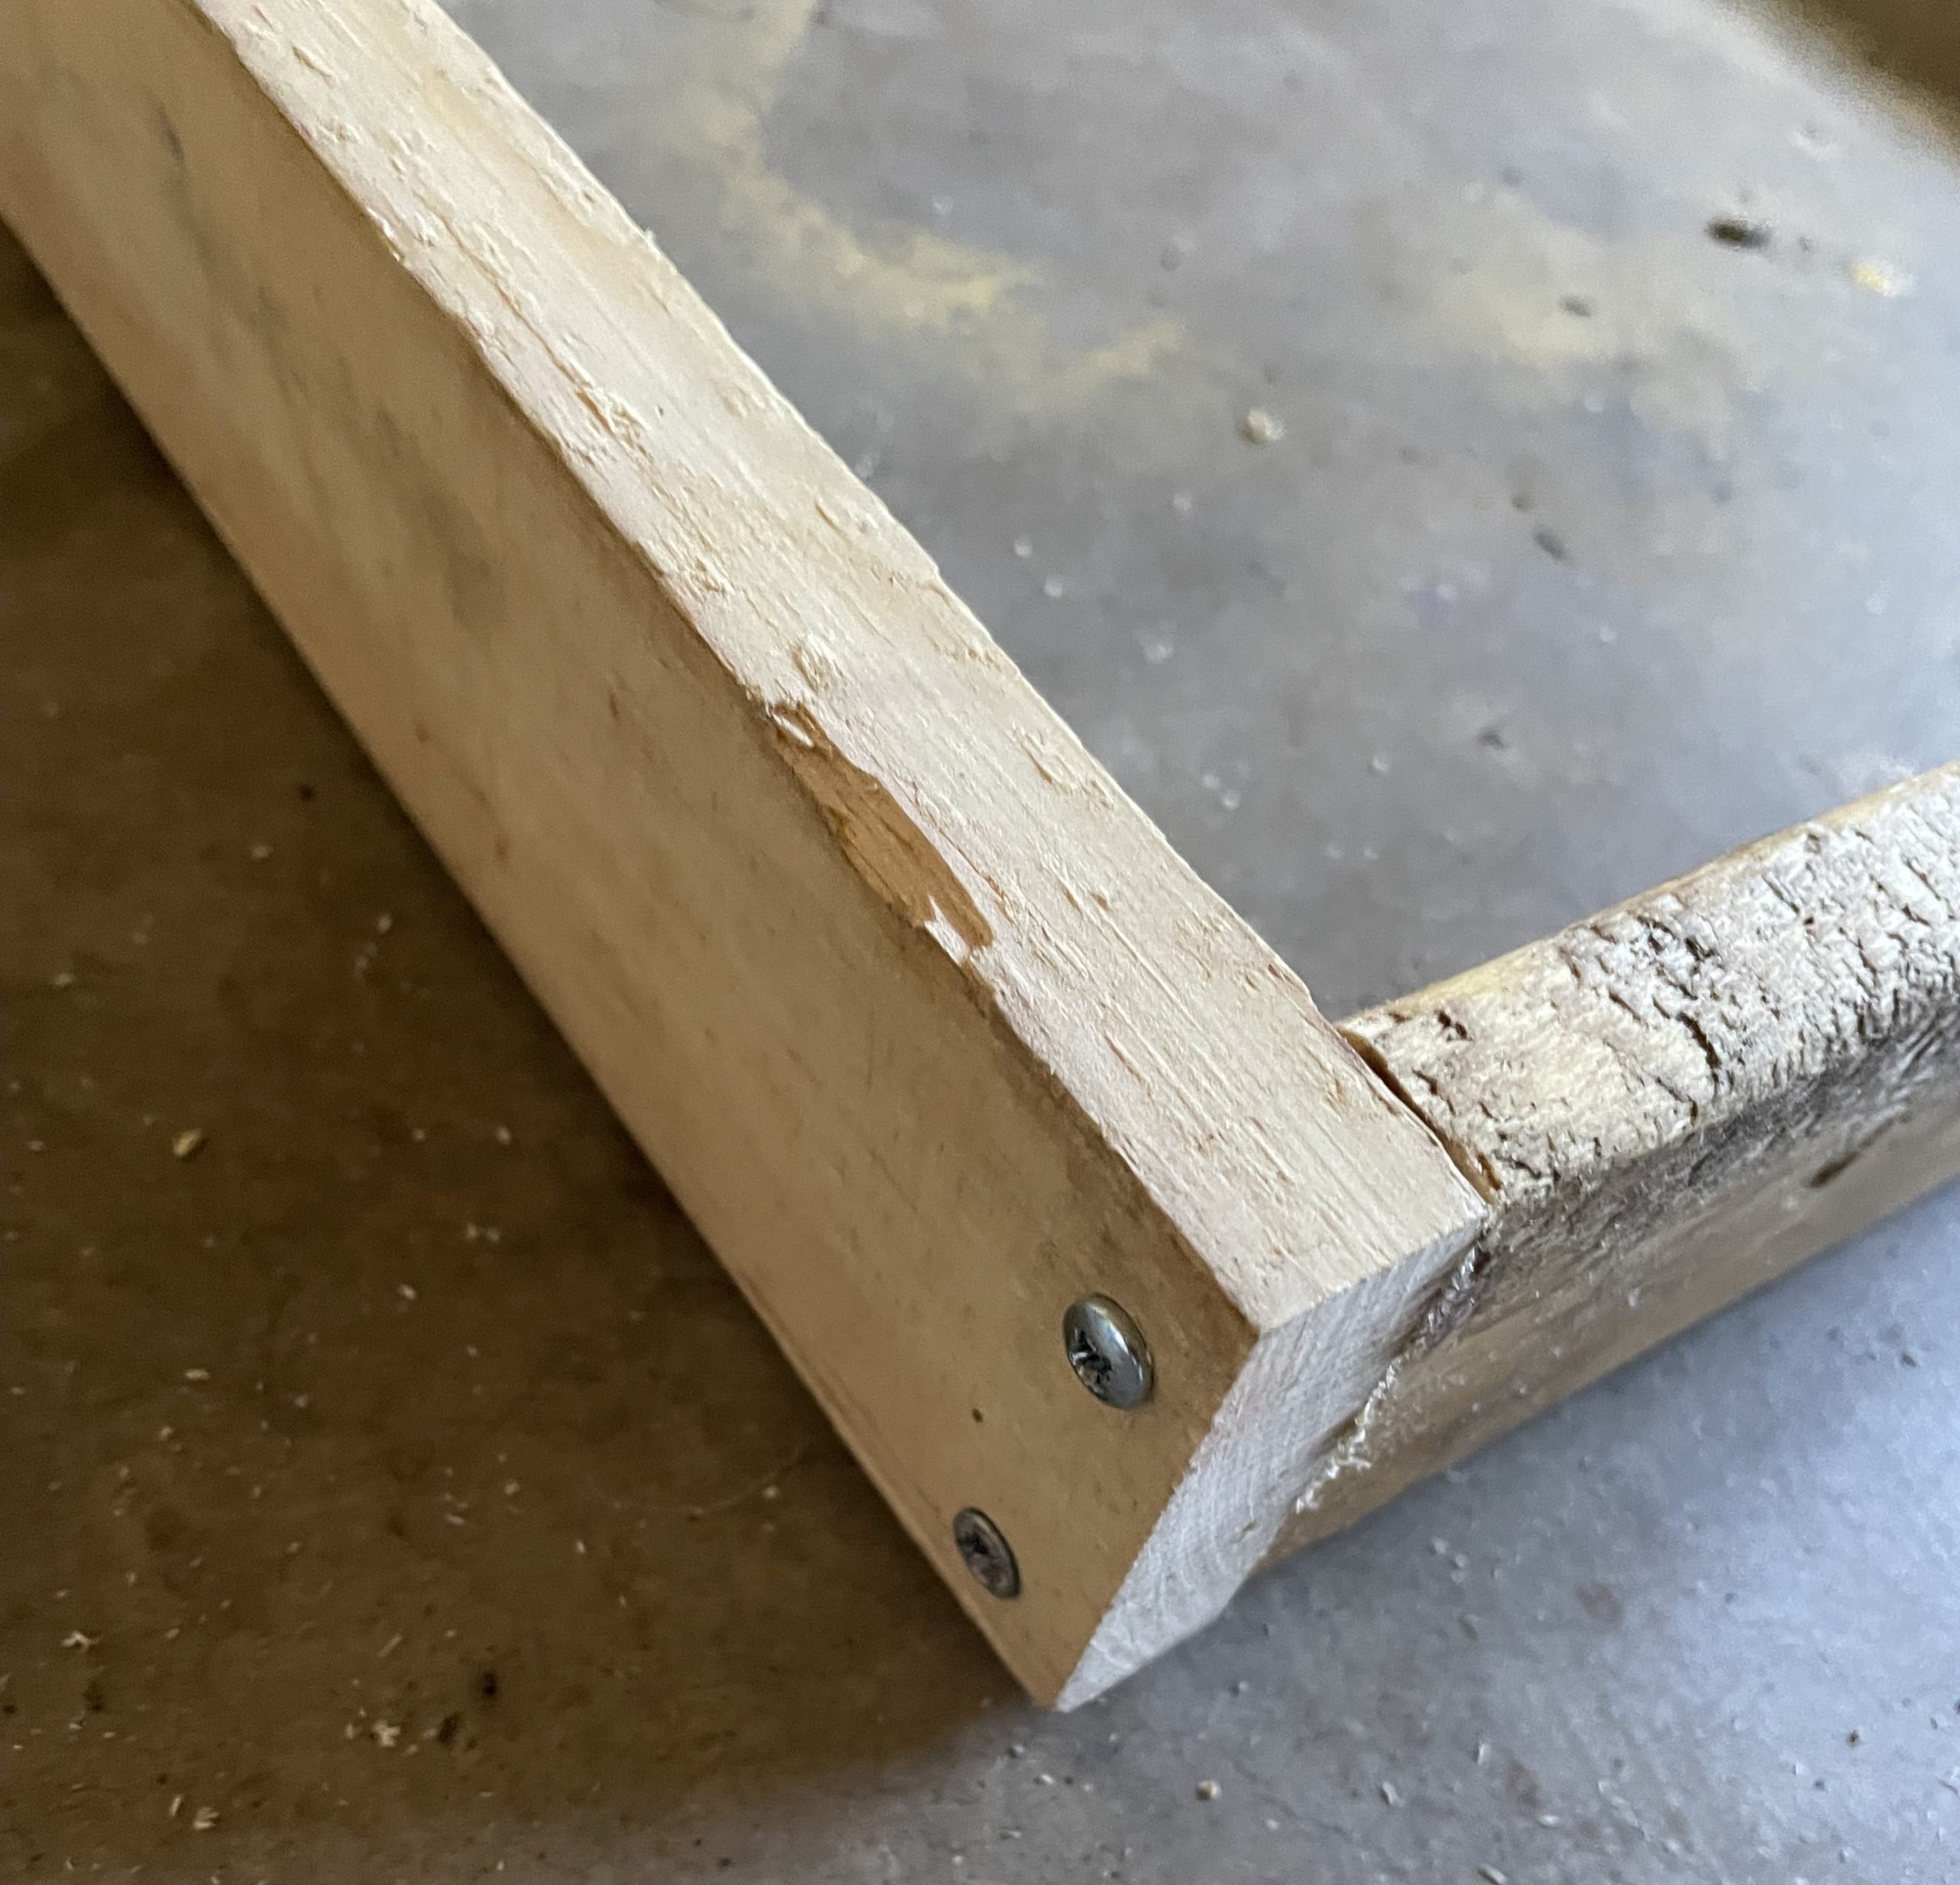

To make the wooden frame, we need to screw the corners
- Align every two edges at a straight angle, and using a marker or pencil, mark the spot where the screws would go.
- Drill pilot holes on the marked spots to avoid splitting
- Once all the pilot holes are drilled, align the boards properly, ensuring the angle is straight.
- Using two screws for each side makes it sturdier.
#5 Attach the wire mesh


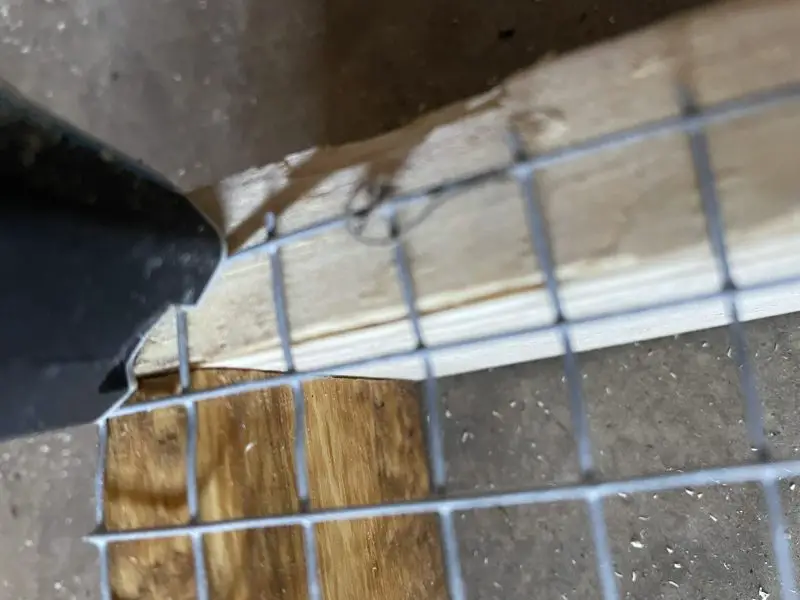
To attach the wire mesh, we will use a hardware stapler.
- Place the mesh over the wooden frame, properly aligning the sides.
- Ensure that there are no poky edges. If any wire sticks out, cut it off with a wire cutter.
- Staple the mesh along the wooden board to secure it.
- Flip it over, and your sieve is ready for use.
#6 How to use the compost sieve?


Using the sieve to sift the compost is similar to sifting flour for baking.
- Place the sieve over a container with a fitting opening.
- Shovel enough compost into it.
- Use your hands ( with gloves) or a trowel to pass the material through the mesh.
- The leftover pieces may be used as mulch or added to another compost pile.
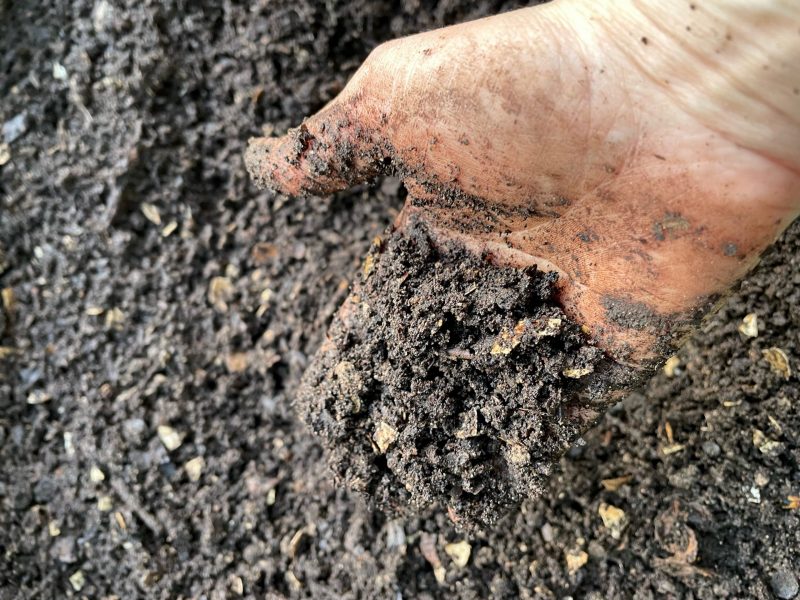
Adding compost to the garden

Homemade compost is much better for your garden. Lay a layer over the garden and let the plant enjoy the nutrients every time you water.
- Home compost is richer in biological life since the commercial one is sterilized.
- Using kitchen and yard scraps helps reduce waste sent to the landfill.
- It makes home gardening less costly, eliminating the need to buy expensive compost.
If you are interested in learning more about compost and its benefits, visit my other posts