Okra is one of the easiest vegetables to grow in warm regions. It does not require much attention as long as you provide it with the right growing conditions. So let’s dive in together to learn more about growing okra in your central Texas home garden.
About okra
Relative to hibiscus and roselle, okra is a vegetable widely consumed in tropical and subtropical regions. Although no confirmed origin, okra is found in many countries worldwide. It is present in many cuisines, such as South America, South Africa, and South Asia.
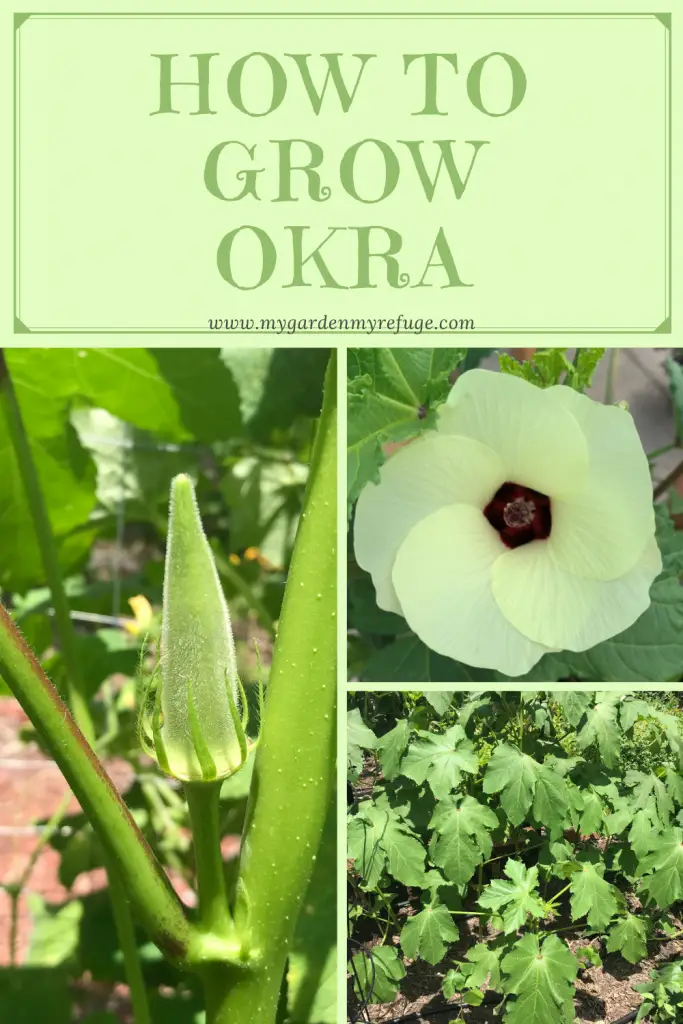
When to grow okra?
Okra is a warm-season crop that thrives when temperatures exceed 85F (30c). It is among the few vegetables that can set fruit in the hot season. The time frame to plant okra starts late spring through late summer. It grows fast and starts producing in a few weeks.
Start okra seeds or direct sow them?
While you can start okra from seed, it is not worth the trouble. Instead, sow the seed directly in the ground the weather is warm. Ensure the soil is moist until it germinates. It takes about four days to a week.
In case you decide to start okra from seed, follow these steps:
- Fill a clean four-inch pot with premoistened seed starting mix.
- Use a pencil tip to make two to three holes in the surface. Each hole should be twice the seed size in depth.
- Place a seed in each hole and cover it with soil.
- Water thoroughly.
- You can keep the pots outdoors.
- Make sure to keep the soil moist.
Planting Okra
- Choose the sunniest spot in your garden.
- Amend native soil with well-rotted compost to balance its drainage.
- Plant okra no less than ten inches apart. The plant grows up eight feet tall in some cases. It needs enough space to thrive.
- If planting transplants, dig a hole as big as the root ball. Then place the plant, ensuring the stem base is level with the soil. Do not bury the stem.
- Water thoroughly after planting, then provide at least one inch of water once a week.
Fertilizing Okra
Honestly, I did not find okra to be a heavy feeder. Amending the soil with compost before planting seems enough to get a good crop.
Harvesting okra
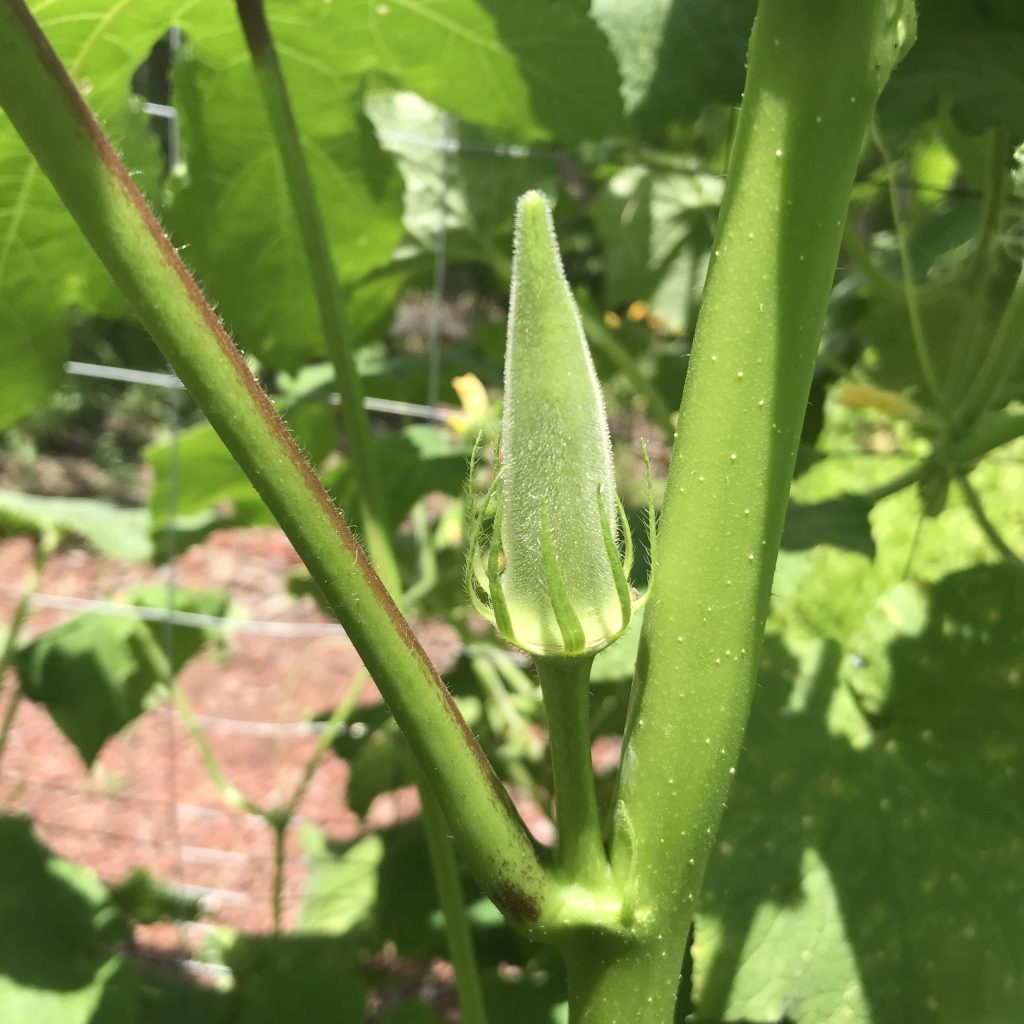
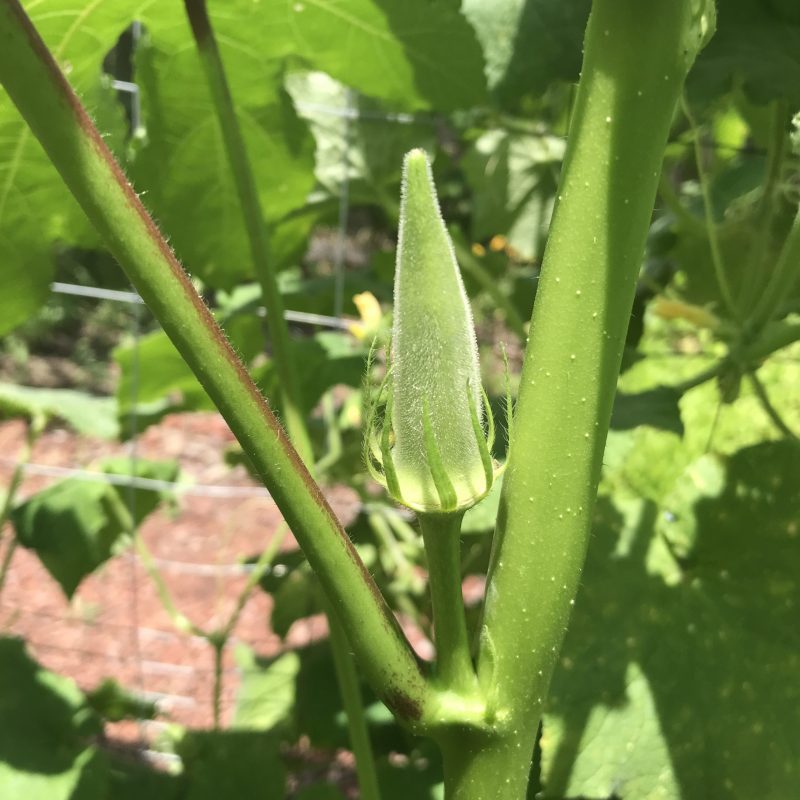
Okra is a prolific and fast producer. You will have to keep up with it as soon as it starts blooming. The flower turns into a fruit one day after blooming. Harvesting the fruit or the seed pod depends on personal preference and variety. The young and short okra pod is more tender and less fibrous and seems to be the choice of most cooks.
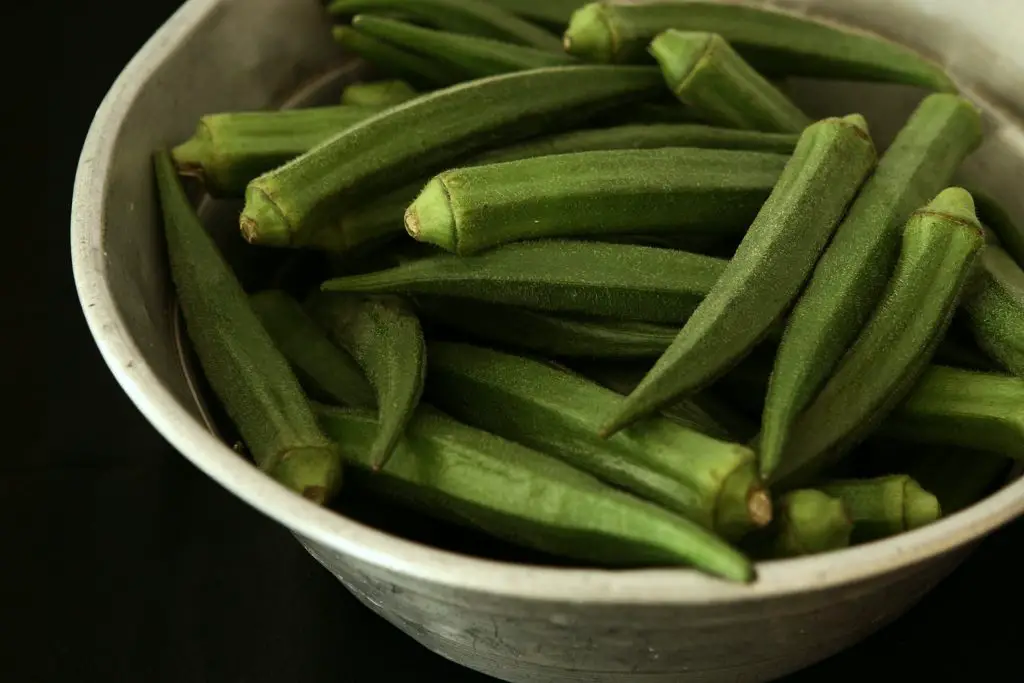
Some varieties produce small pods, but the most common ones can reach six inches long. The key is to check on the plant daily, as okra can grow overnight. Pick them as soon they reach the desired size. Also, the more you pick, the more production there will be.
Some Okra varieties can get as tall as 12 feet. However, that may be too high for some of us to reach the harvest. So instead, cut the top of the plant to encourage side shoots, making the plant bushier and the harvest at one’s reach.
A word of caution
Okra stem, leaves, and pods contain little spines; when picking, they secrete a sticky substance. To some people, like me, that may cause some skin reactions. Wearing long sleeves and gloves may spare you the discomfort. You can also rub some comfrey leaves on your itchy skin for relief.
Storing okra harvest
Fresh okra molds very quickly due to moisture.
Fridge storage
- Put okra pods in a paper bag or wrap them with a paper towel.
- Then, place it in a perforated plastic bag or a produce container.
- Keep refrigerated in low moisture for no more than three days.
Freezing okra
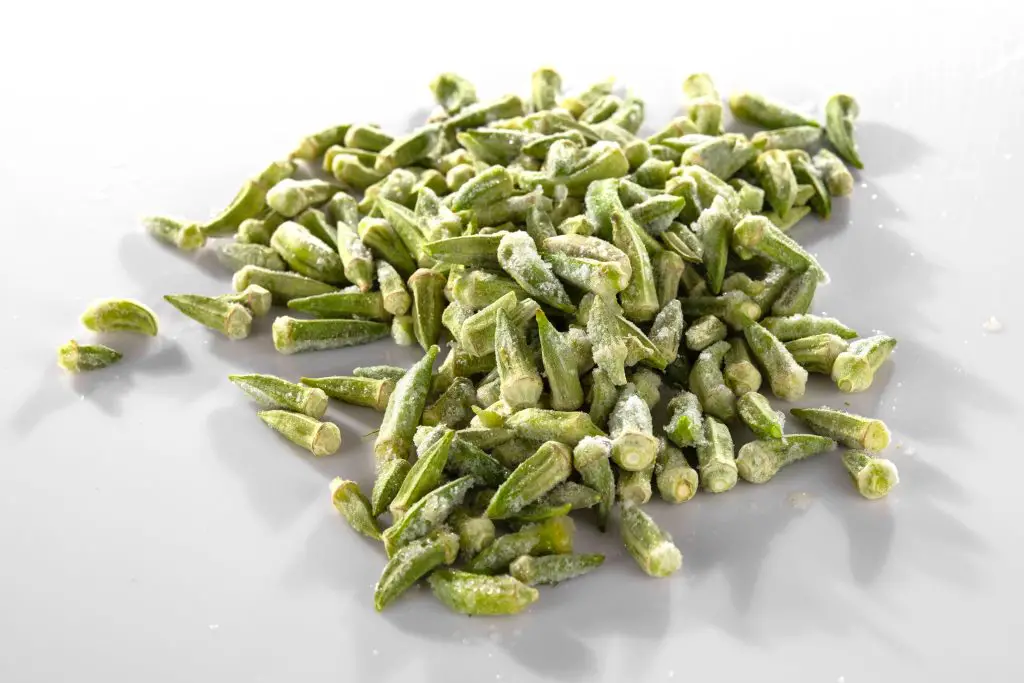
If you are not using your harvested okra immediately, process it and freeze it for more extended storage. There are different ways of preparing okra for freezing. Some prefer to blanch it first; others roast them briefly in the oven. Both methods are trusted and help okra keep its texture and flavor in the freezer.
1- Blanching
- Clean okra pods and cut the big ones into desired size pieces.
- Bring a pot filled with water to a boil. You can add salt to the water, but it is optional.
- Add the okra to the boiling water and leave for three minutes.
- Prepare a bowl filled with iced water.
- Scoop the okra from the boiling water straight into the ice-cold water to stop the cooking.
- Once completely cool, drain the okra and lay it on a clean towel to dry.
- Lay the blanched okra on a baking sheet. Try to space the pieces so they don’t touch.
- Flash freeze.
- Scoop the frozen okra into freezer-safe bags. Close airtight to prevent freezer burn.
- Use frozen okra in your recipes without thawing and avoid overcooking.
2- Oven roasting
Roasting okra is my favorite method.
- Preheat the oven to 400F (200c)
- Clean okra and pat dry with a clean towel. You may cut the long ones into the desired size.
- Lay the okra in one layer on a baking sheet.
- Transfer to the oven and bake until dry. It takes about 20-30 minutes.
- Allow to cool down before filling freezer-safe bags.
- You can keep okra this way up to six months.
- Again avoid overcooking frozen okra.
3- Sun Drying
This method is very well-known in the far East, where they use dried okra for tea.
- Wash the okra pods.
- Cut them into 1/4 inch pieces.
- Lay them on a drying rack.
- Sun dry them for three to four days.
- Store them in a glass jar.
Nutritional value of okra
Sadly, okra is not consumed enough despite its high nutritional value. It is one of a few fruits and vegetables high in protein. It is also high in minerals and vitamins, improving heart health and overall immune functions.
Okra is a good source of fiber, promoting the proper function of the digestive system. In addition, it is high in folate, which is excellent for pregnant women. The latter helps prevent brain and spine defects in the developing fetus.
Since okra does not require a long cooking time, it preserves a lot of its nutritional value. Unfortunately, vitamin C is the only one that gets damaged by heat.
How to save okra seeds?
There are two essential rules before harvesting seeds. First, the chosen variety has to be an heirloom. Saving seeds from hybrid, also known as F1, won’t produce the same fruit. Second, ensure no cross-pollination with another plant from the same family.
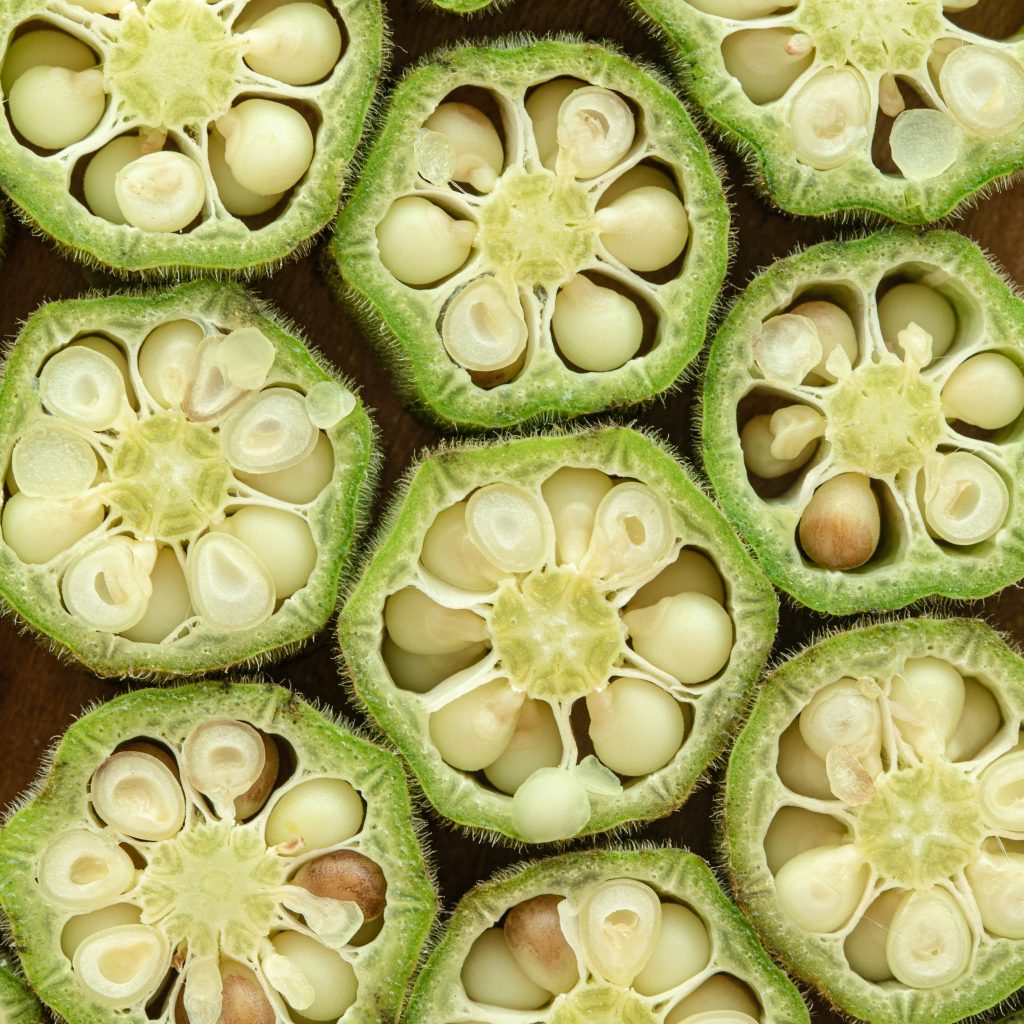
Saving okra seeds is very easy. First, leave a few pods on the plant till they become dry. When that happens, the seeds should rattle inside the pod, and remember that the pods will explode at maturity, scattering seeds all over the place if not picked.
The seeds look like small dark beads. Try to keep them in a small paper bag or a glass jar. You may use silica packs inside the container to absorb extra moisture. Store in a cool, dry, and dark place protected from pests. They should keep for three years when stored properly.
My favorite okra variety to grown in NC is a Texas heirloom called “Stewart Zeebest.” I buy the seeds from the Southern Exposure Seed Exchange. They remain tender, even at a prodigious length, and produce continually even very late in the season. The seeds I have saved grew true the following season and the taste is beyond compare! A harvesting tip I got from an old timer: when you cut the pod, you should also cut the leaf at its base to help the plant maintain its vigor.
That’s great to know, Kelley. Thank you for the harvesting tip. I will definitely try it on my okra. I also realized that topping the plant (cutting the top growth) helps send new side shoots.
Thank you brother for posting comprehensive guides for growing some of the vegetables. I liked your description about broad beans and okra. However, I noticed that you did not present your recommendation of Okra verities for Central Texas.
I have moved to Austin area just about a year ago. I have a few raised beds in my backyard. This summer I grew some okra and opo squash (not very successfully). This fall I am considering to plant some brussels sprouts, broad beans, spinach and carrots. I am wondering if you can send me some information about growing brussels sprouts.
Thanks,
Ram Bansal
Phone 8322748517
Thank you Ram for taking the time to comment.
First, I wanna say I am a lady not a guy 😊.
You are right, I have not mentioned any specific okra varieties, and that’s because okra is an easy crop in central Texas. Any variety you would choose will work.
The only difference I would state is the one between and heirloom and a hybrid. Heirloom crops, in general, tend to be slower and lower production wise. Hybrids are much faster and more productive.
As far as Brussels sprouts, they have a long growing period. By the time they start budding, spring is here and aphids attack them dramatically, destroying the crop.
For this reason and since they take up space, I do not recommend them for small home gardens. They are not worth the hassle.
However, if you have plenty of space and a you are patient to deal with aphids, you may want to give them a try. I suggest looking into varieties with the least maturity days.
Hope this helps.