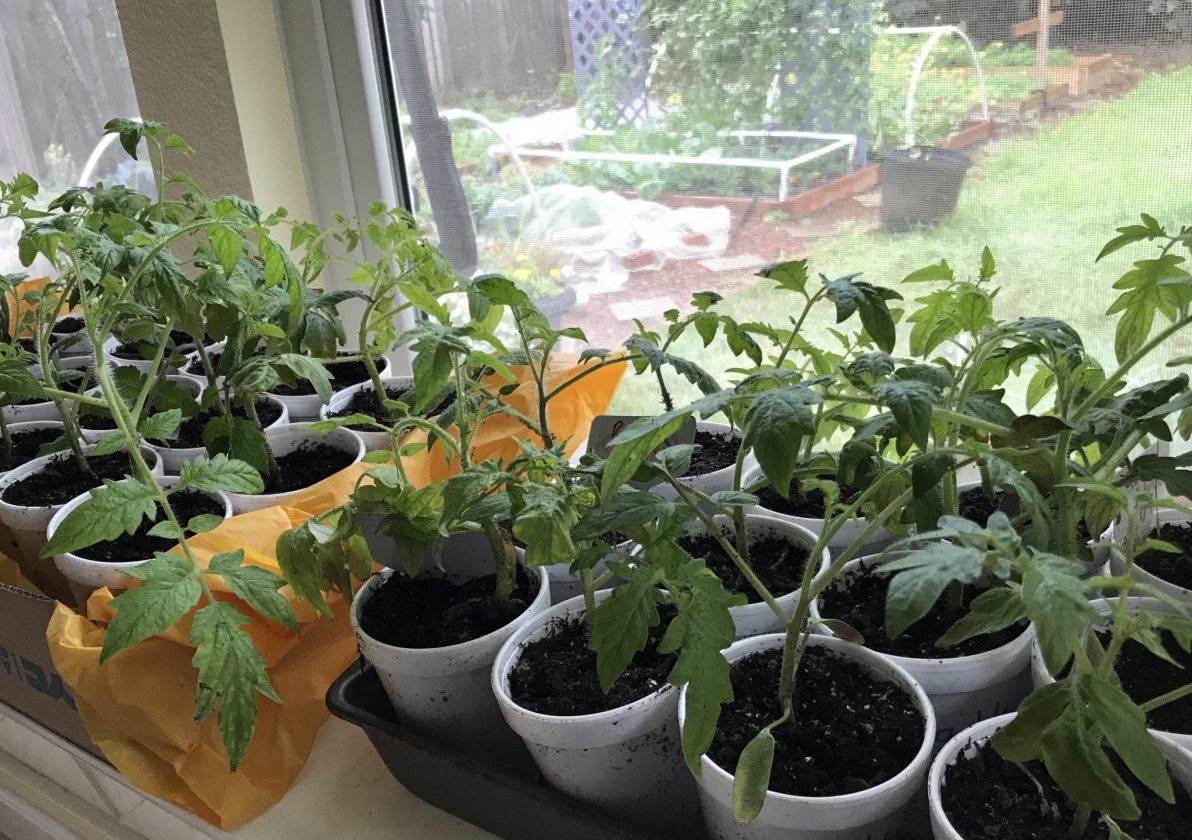
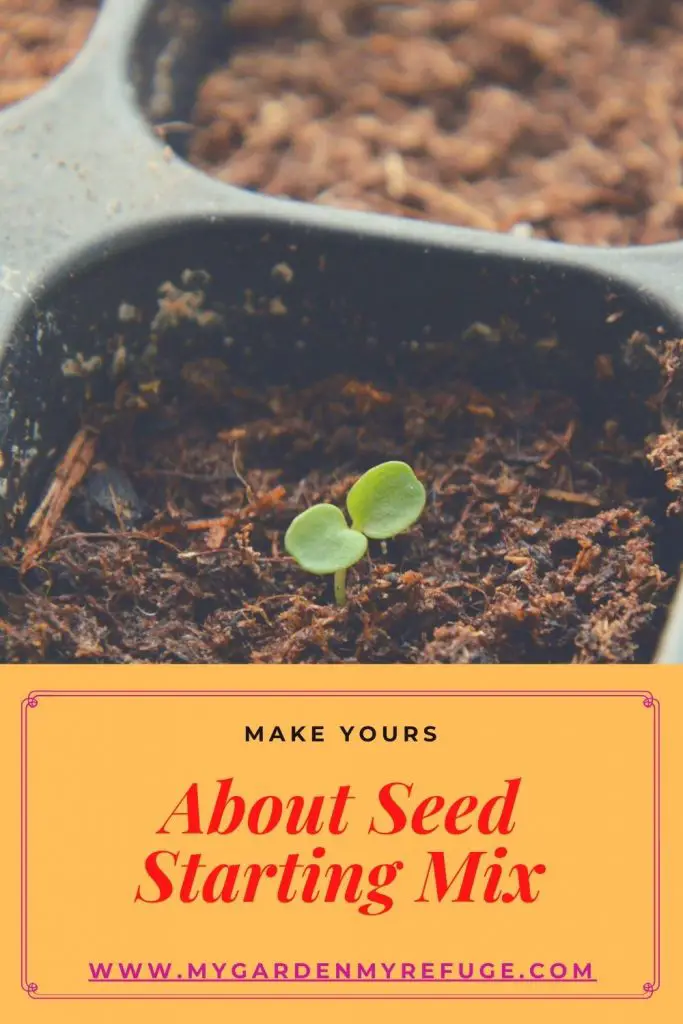
Three years into gardening, the growing space quadrupled in size. Buying transplants to fill the garden turned out to be costly. Starting seeds seemed to be the most efficient way. But then, the cost of seed-starting mixes was adding up fast, which forced me to make my own. It took several trials to get to the right recipe I am about to share with you.
Why make your own seed starting mix?
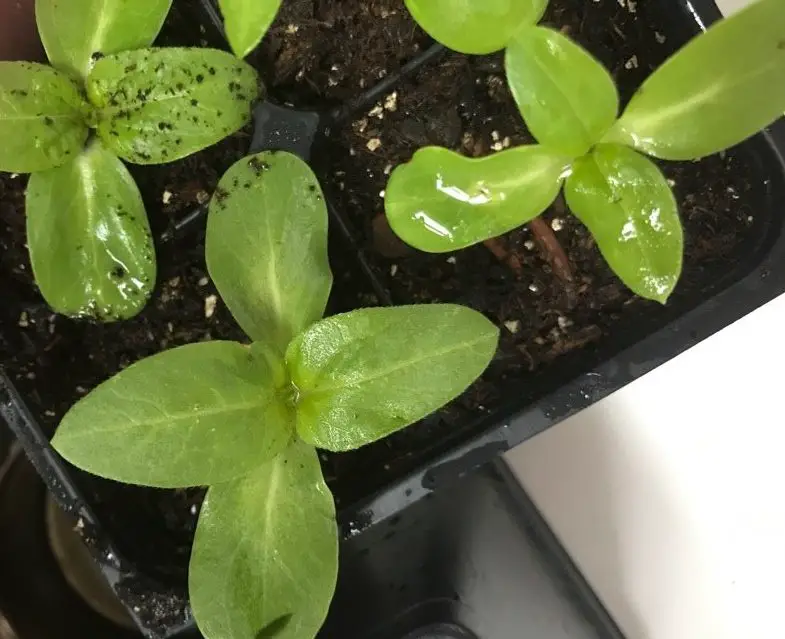
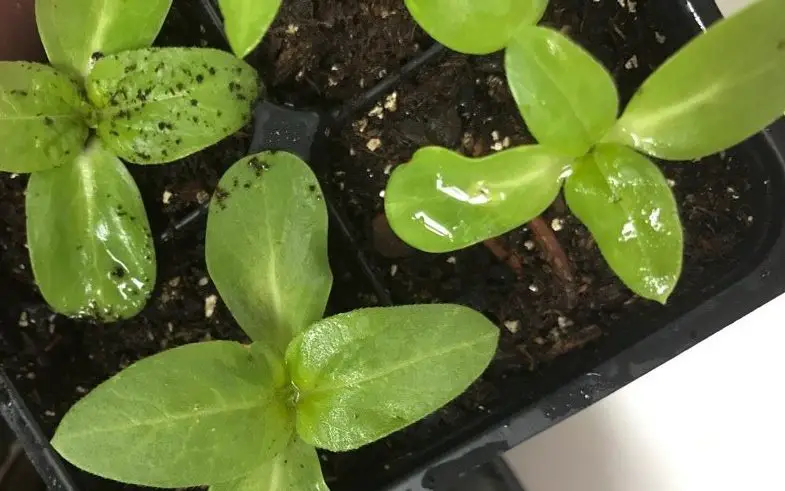
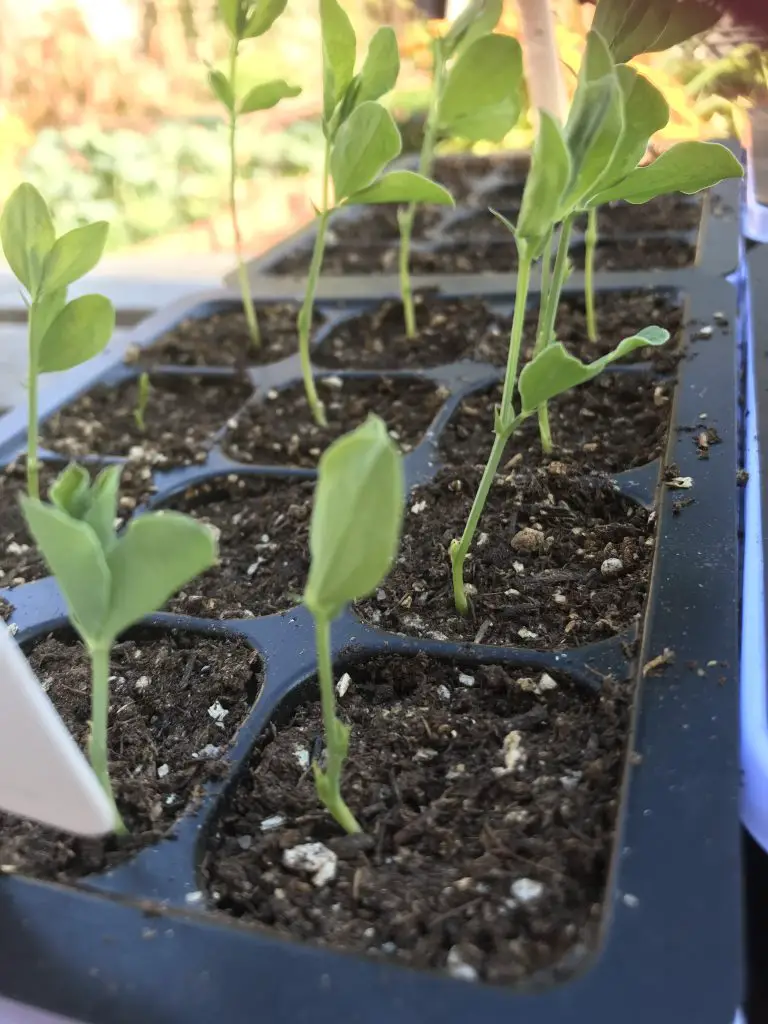
For a successful seed starting experience, you must use soil designed for this matter. Seeds are delicate and require the right medium to be able to sprout. As the delicate stem and roots emerge from the casing, the medium has to sustain the little plant.
There are some good-quality seed-starting mixes out there at a seemingly affordable price. But when you want to grow more than 50 plants, a 12-quart bag won’t cut it. And if you are trying to grow organically from the start, that might get pricier.

Standard Seed Starting Mix
This is an easy and efficient way to make your seed starting mix in any amount you wish.
Ingredients
- 3 parts peat moss
- 1 part vermiculite
- 2 part compost
Instructions
- In the tub-trug, put in the peat moss.
- Spray it generously with water while mixing it with your hands. The peat moss should be well moist before adding the rest of the ingredients.

- Add in the vermiculite, compost, and castings. Mix well with your hands.

Notes
- If making a big amount, use a tarp. Going through the same process described above.
- To mix the soil, lift the corners of the tarp one after the other.
- For supplemental nutrition, add in 1/4 cup of granular fertilizer for every 2 gallons of the mix.
Nutrition Information:
Serving Size:
1 gramsAmount Per Serving: Unsaturated Fat: 0g
What is peat moss?
Peat moss comes mostly from Canada, where it thrives and yields a consistent harvest. Sphagnum is a genus of moss of which there are more than a hundred species around the world.
Sphagnum moss is the most used because it is free of weeds, diseases, and insects. It also has great water-holding characteristics. Yet, it is the accumulative result of layers upon layers of dead mosses, plants, and insects. For that reason, peat moss is rather acidic than when in its pure form, which is more neutral.
After harvest, sphagnum peat moss is dried. Then it is either kept in its fibrous form or milled into fine material.
Check out this link to read more about the differences between sphagnum and peat moss.
What is vermiculite?
Vermiculite in its natural form is a layered rock similar to mica. It undergoes an exfoliation process, using high heat. After this process, vermiculite transforms into worm-like strands, hence the name. The final product is lightweight and airy.
The vermiculite used in the garden looks like coarse sand but much lighter. Its airiness and ability to hold water make it a great soil amendment. Most gardeners use it in potting and seed-starting mixes. It can also be used alone as a seed-starting medium.
Vermiculite or Perlite?
Perlite is a kind of volcanic glass that naturally contains water. It is then crushed and heated to turn into light beads. Gardeners also used perlite in potting mixes for its airiness and water absorption. Contrary to vermiculite, it does dry out due to its porous texture.
In general, vermiculite is used for plants that like constantly moist soil. Perlite is used for plants that appreciate some dry time.
In conclusion, vermiculite is used for plants that like constantly moist soil, while perlite is used for plants that like to do dry from time to time.
You can also read more about perlite on this happy DIY home post.
Are vermiculite or perltie organic?
Depending on how you look at it, you might consider them either. Both vermiculite and perlite are mined minerals. From a chemical standpoint, neither contains carbon so they are not considered organic.
In agriculture, however, organic material is anything extracted from the earth and does not undergo chemical processing. For this reason, vermiculite and perlite are accepted in organic practices.
Concerns around vermiculite
There are a few health concerns that arise with the use of vermiculite and perlite.
- Non-renewable: As is the case of all minerals, vermiculite, as well as perlite, are non-renewable.
- Asbestos contamination: This is a serious concern that was raised back in the 1950s. The vermiculite, produced by a mine in Montana, was believed to be contaminated by a nearby asbestos deposit. The mine has shut down in 1990, and today’s vermiculite is most likely safe.
- Respiratory irritation: As gardeners, we tend to ignore safety guidelines. Working with dust-like material can always cause some sort of irritation for the respiratory system. Handling minerals regularly should be taken seriously. Small particles may deposit in the respiratory system and cause damage in the long term.
Alternatives for standard seed starting mix?
With the rise of global warming awareness, we are all trying to be mindful of our consumption. Focusing on renewable resources should be our main goal as gardeners. Let’s try together to find alternatives to the common seed starting mix.
1- Garden soil for starting seeds
Many would disagree with the recommendation of using garden soil to start seeds. Yet, back in the day, that was the only way. My parents and their parents only used soil to start seeds. Two reasons why some would object are the cleanliness and the density of the soil. By cleanliness, we mean the existence of bacteria and fungi that may harm the seedlings. The density of the soil means poor drainage and air circulation. If someone has no resources to get a proper seed-starting mix, they can use soil with a few considerations. They must sterilize it by exposing it to high temperatures. That could be by baking it in the oven or under the hot sun. They can also use hot water, then allow it to drain before use. To improve its drainage, they may add sand to it.
2- Coco coir
Coco coir is the processed husk from coconut fruit. It comes mostly in a brick form. Unfortunately, for a great replacement of peat moss, it is not readily available.
3- Compost
Well-finished compost could make a great medium for starting seeds. It is important, though, to sift it through the finest sieve possible for easy use.
4- Leaf mould
Just like compost, leaf mold is another great medium to start seeds.
Helpful tips for using the seed starting mix :
- I suggest putting on a face mask to prevent breathing in the dust from all the ingredients.
- If making a big batch, the best way for a well-blended mix is by laying a tarp and pour all the ingredients on it. Lift each corner of the tarp, one at a time, and shake until you reach a good blend.
- Store the mix in an air-tight container.
- To sterilize the mix, either microwave it in small batches or use boiling water to moisten it. The heat will kill the fungi and bacteria existing in the material.
How to use the seed starting mix
It is very important to moisten the mix before use because peat moss takes time to absorb water.
Fill a container or a bucket with the soil mix and start adding water gradually, a faucet sprayer is great for this, and use your hands to stir. The consistency should feel like a rung-out sponge, with no water dripping when pressed.
Once the mix is moist enough, you may start filling your seed pots.